

New Spinet
Hello everyone.
It’s been a long time since I’ve posted on this site. Work has rolled along and time has passed me by, like always for us all. But I finally have something to show for the efforts. You see it here.

Stringband View
The work has ranged from assembling and installing a spruce soundboard, making cherry bridge and nuts, moldings, forging the heads of tapered pins for tuning pins, making an apprentice (Yes, I had one for about eight months) cut and shape brass pins to hold the strings, the actual stringing, making a lid, cleaning brassware from the Geddy Foundry across town… oh, yes, and making everything work for its main purpose: music.
My former apprentice, Bethany Allen McGuire, came at just the right time, since it takes two people to effectively string up this instrument. We had individual duties in the process for each string. Bethany quickly became adept at spinning the hitch loops for the wire, while I worked on drilling technology (something I will post about soon). The first couple of strings in the bass each took over a half hour to get in place. But soon we were up to about five or six an hour. Hearing each string pull up to pitch and the spinet making its first sounds… that kind of excitement spurred us on. Then we had to mount the action and keyboard, a seemingly endless process. For Bethany, this was a good introduction to how spinets really work.
I’m just glad it’s staying together.
We teamed up for assembling the lid, four pieces of black walnut edge-glued, she cut it to shape while I made the moldings and we both worked on kerf-bending and installing them. It was one of the fastest lid assemblies I can remember.
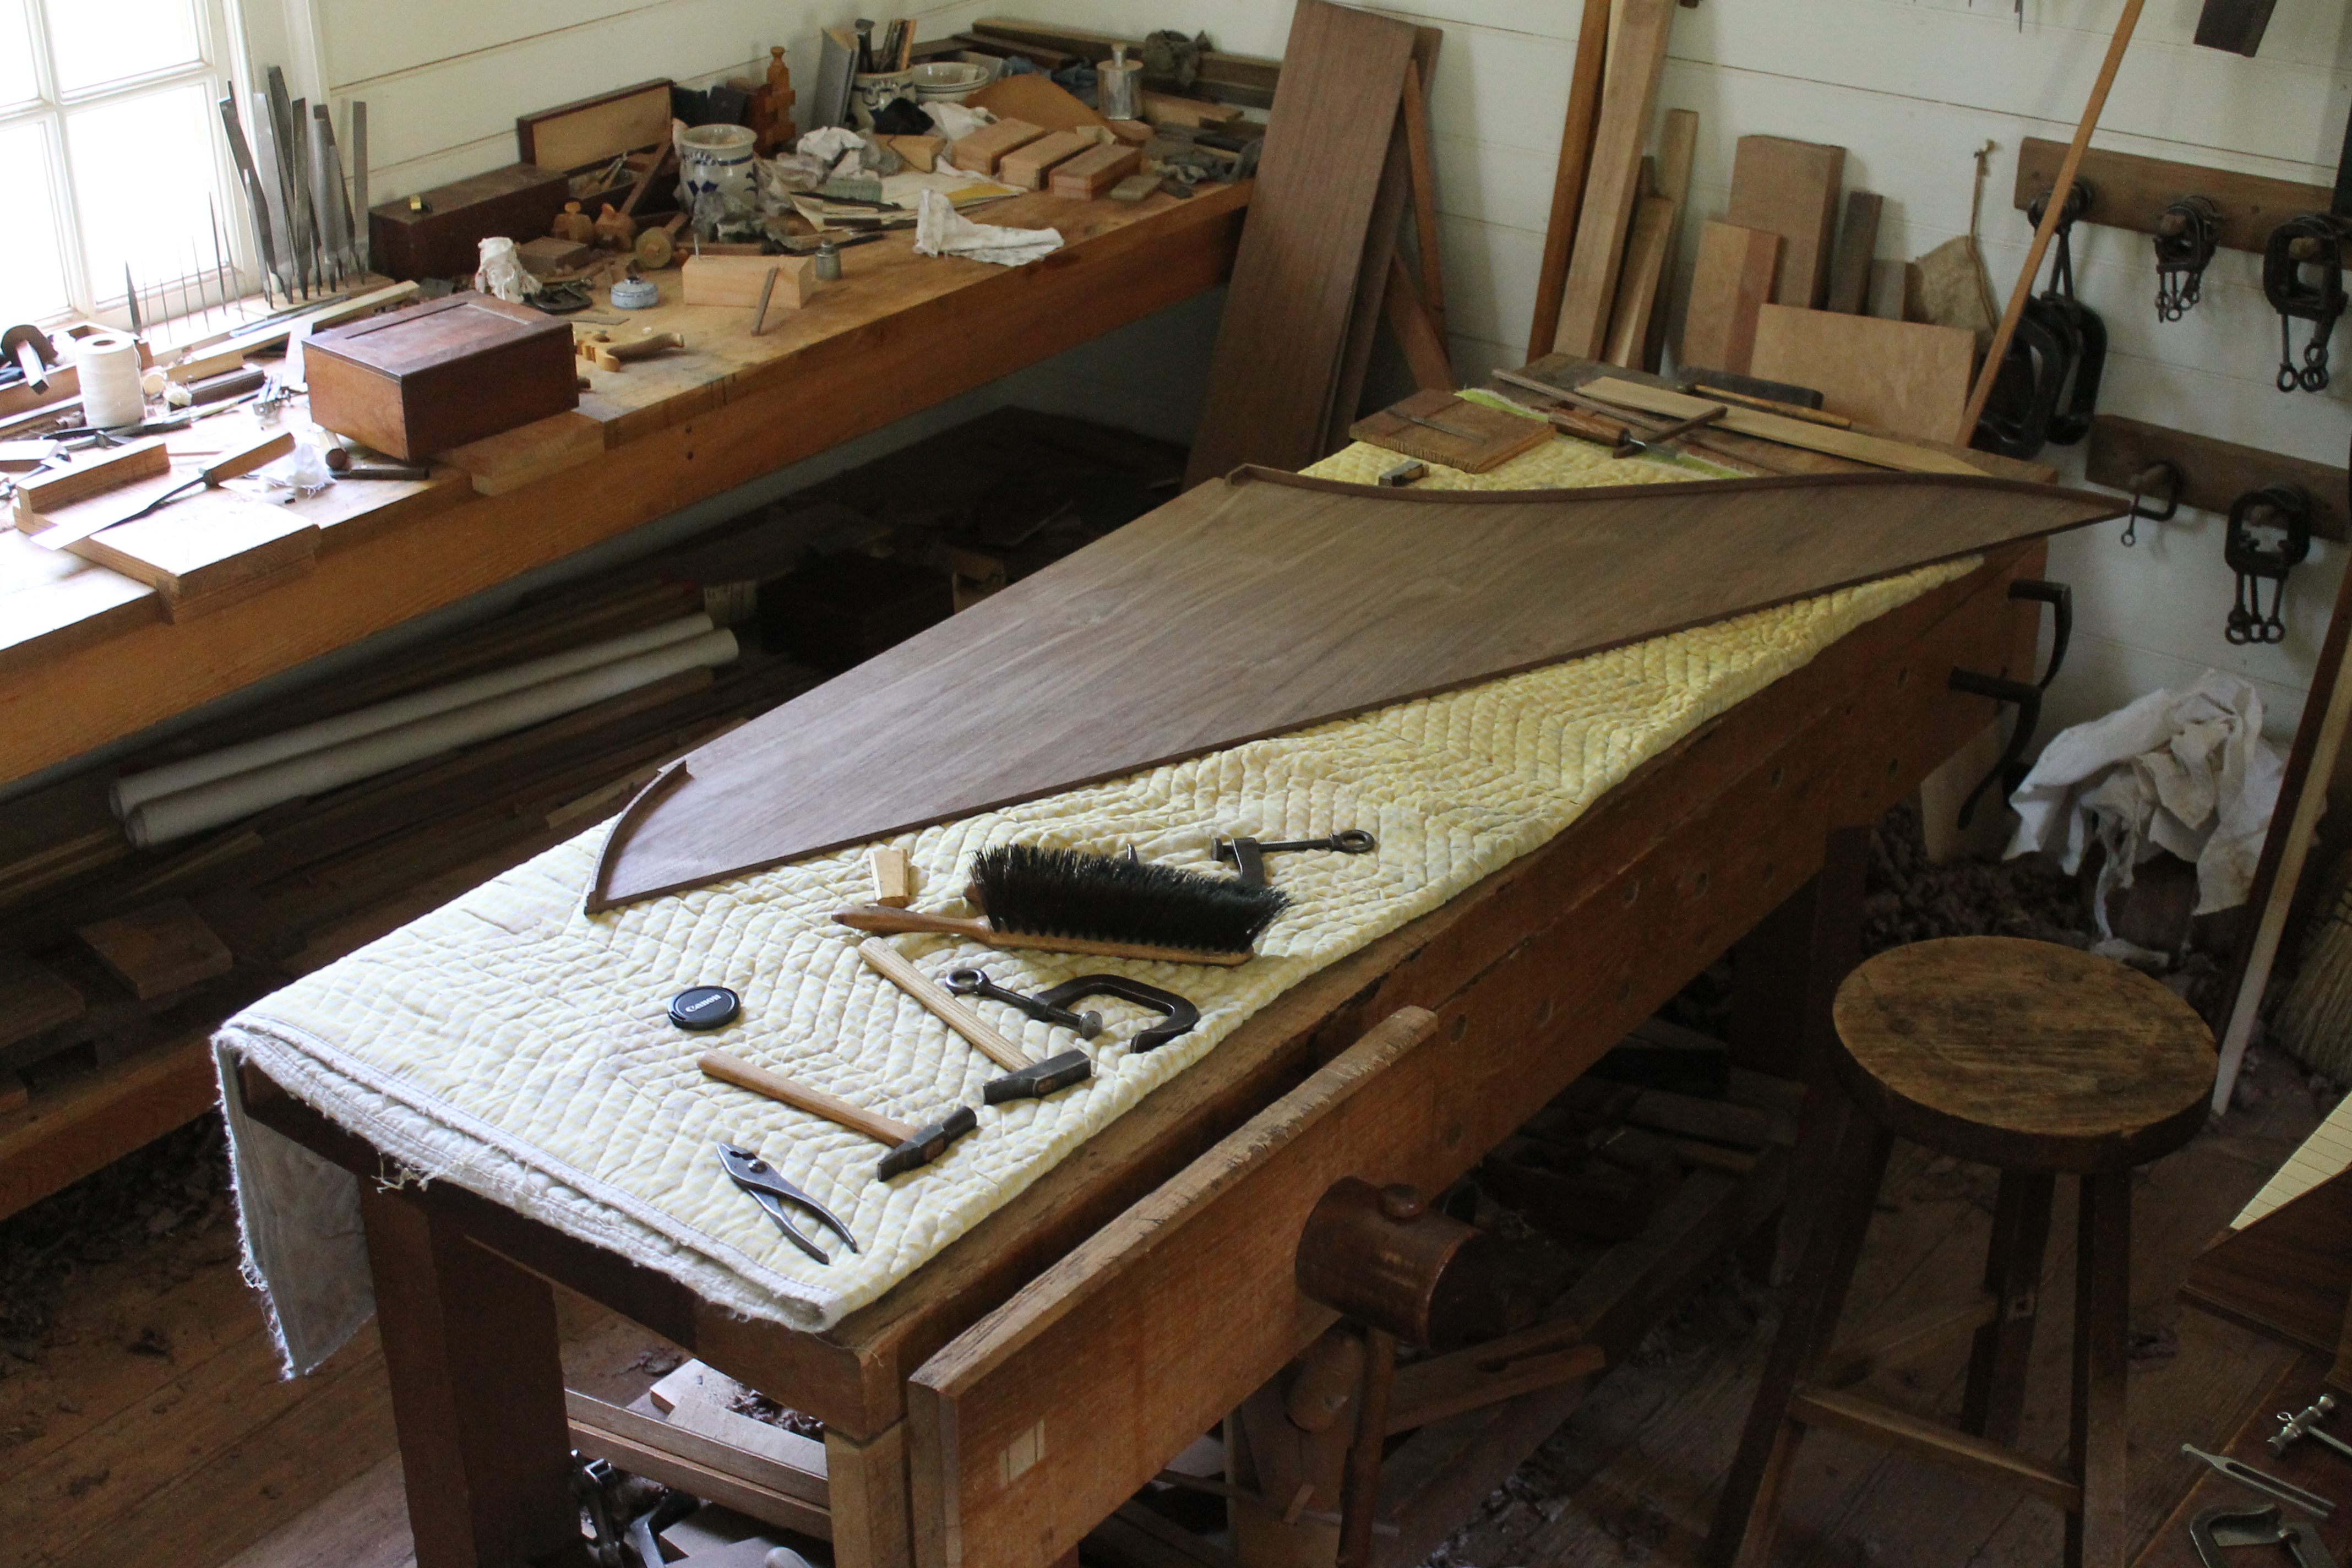
Walnut Lid Under Assembly.

Front Corner Joint of Lid Moulding. Note the kerfs to bend the long strip.
Here’s a picture of the front veneered panel:
Maple Nameboard Center
No inscription yet here. Bethany gave me a complete surprise when she said she had done calligraphy before. I just about fell down on the floor, for I had really been wondering how to solve that problem. With a bit of instruction and the loan of a few good tools from cooper Ramona Vogel-Hill (who also works calligraphy on the side), Bethany worked on the block printing while I experimented with surface treatments to prevent the ink from feathering into a mess in the wood grain.

Experimental Inscription on Curly Maple.
The maple was planed smooth with my try plane with a tight throat. Then I abraded it with fine emery paper. I know what you are all going to say, WHA? IT WAS ALREADY SMOOTH! True, but I sanded it down very finely and left the dust in place. Then a very thin cut of seedlace varnish, one coat, was applied, then left to dry for a half hour. It would seal the dust into the pores. A very, very light sanding with emery to remove any possible blemishes in the surface and then Bethany went to work.
How do you determine success here? Well, for me, if the wood is clear and smooth enough, the lettering should look like it floats above the surface of the wood figure. A visual depth should result that almost looks three dimensional, as if you could pass you fingers behind the letters but above the curl figure of the maple.
All the walnut casing is finished with three coats half boiled linseed oil, half spirits of turpentine. Final top coating will be beeswax.
Unfortunately, Bethany left us at the end of last month, and I was sorry to see her go. Let me say here publicly that without her assistance and initiative, the spinet would not be where it is or in the finished state and character that it possesses. Yes, most of the work is mine, but she contributed to its completion in many ways. My name goes on the nameboard, but it is proper and right that she has signed her name on the lowest key, in the traditional 18th century spinet practice.

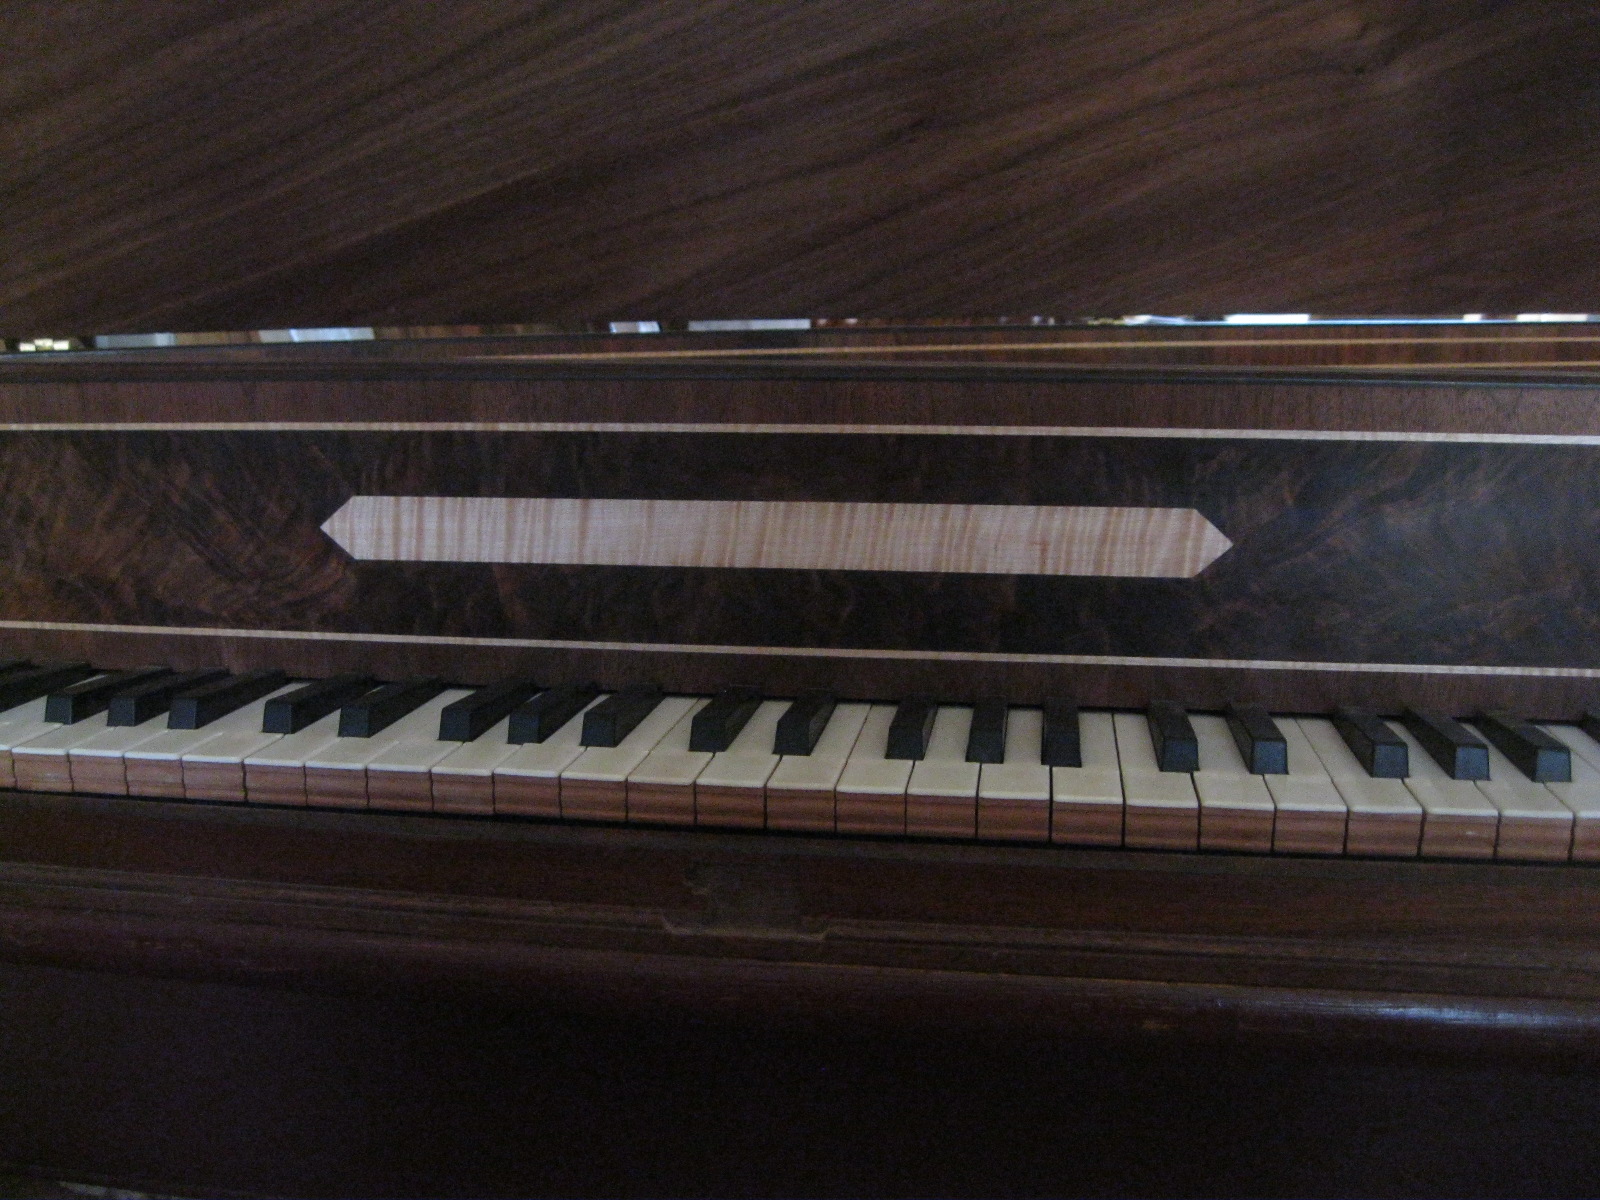
Final Nameboard, Keyboard and Mechanics Installed.

In the coming weeks, now that I’m at a pausing point, I hope to post more blogs backtracking some of the interesting features of the work in its latter stages. First, a video (I think our first here) of the spinet being played; New drill methods; work on a simple music rack and other things that come to mind. Famous last words, I know, but some neat things have been discovered along the way.
Oh yes, I have been advised to announce that the shop has a page on Facebook now. It will be more for quick, interesting photos and announcements, but will not replace this blog, which will continue to cover more in depth issues. As we can.
Now, the question to myself is….
Can I actually do this again, and to the same level?

Finished Nameboard, Keyboard and Action In Place.
Best,
Ed Wright

May I ask about the finish: ‘half boiled linseed oil, half spirits of turpentine. Final top coating will be beeswax.”?
I assume thinning is to increase penetration? Will the beeswax go directly over the BLO? how long to dry the BLO? I use BLO also on walnut (just did so on a William & Mary spice chest) and it really darkens the wood a lot, maybe more than I always prefer. But it does pop the grain nicely.
Indeed, there have been times when we have decided not to oil walnut for that very reason, darkening. I’m not sure if the turpentine thinner helps alleviate that problem. We try to be light-handed with the oil generally. I like to let this mixture mentioned in the post dry for about a week, which is not hard in here given our other responsibilities. And yes the wax will go on top, which I have yet to do. As we are finding more evidence of this oil practice historically, we may use it more frequently than in the past. Thanks for the questions.
Very nice work!
I don’t think you need to sand the wood after planing. I use an ink stamp on maple veneer to create my business cards. Before applying the stamp, I seal coat the veneer with a one pound cut of clear shellac. Brush on a coat, or two. It prevents the ink from bleeding through the veneer, and feathering. Works well, and saves sanding.
Thanks for the observation. Yes, I was thinking of one time when the cabinetmakers used a fine brick dust treatment on mahogany as a filler (Sheraton). So I figured a light sanding and sinking the dust into the pores via the lac would work similarly. Probably I didn’t have to, like you say. The maple was really good off the plane, so I did wonder. It all seems to work in the long run. Thanks.
This sort of instrument was the inspiration, I believe, for the Zuckerman kits years ago. 18th century-style instruments using 20th century materials and tools.
Incredible work!
What material is used for the natural keys?
Bone.
Pingback: Roll Storage | Pianola.ca