
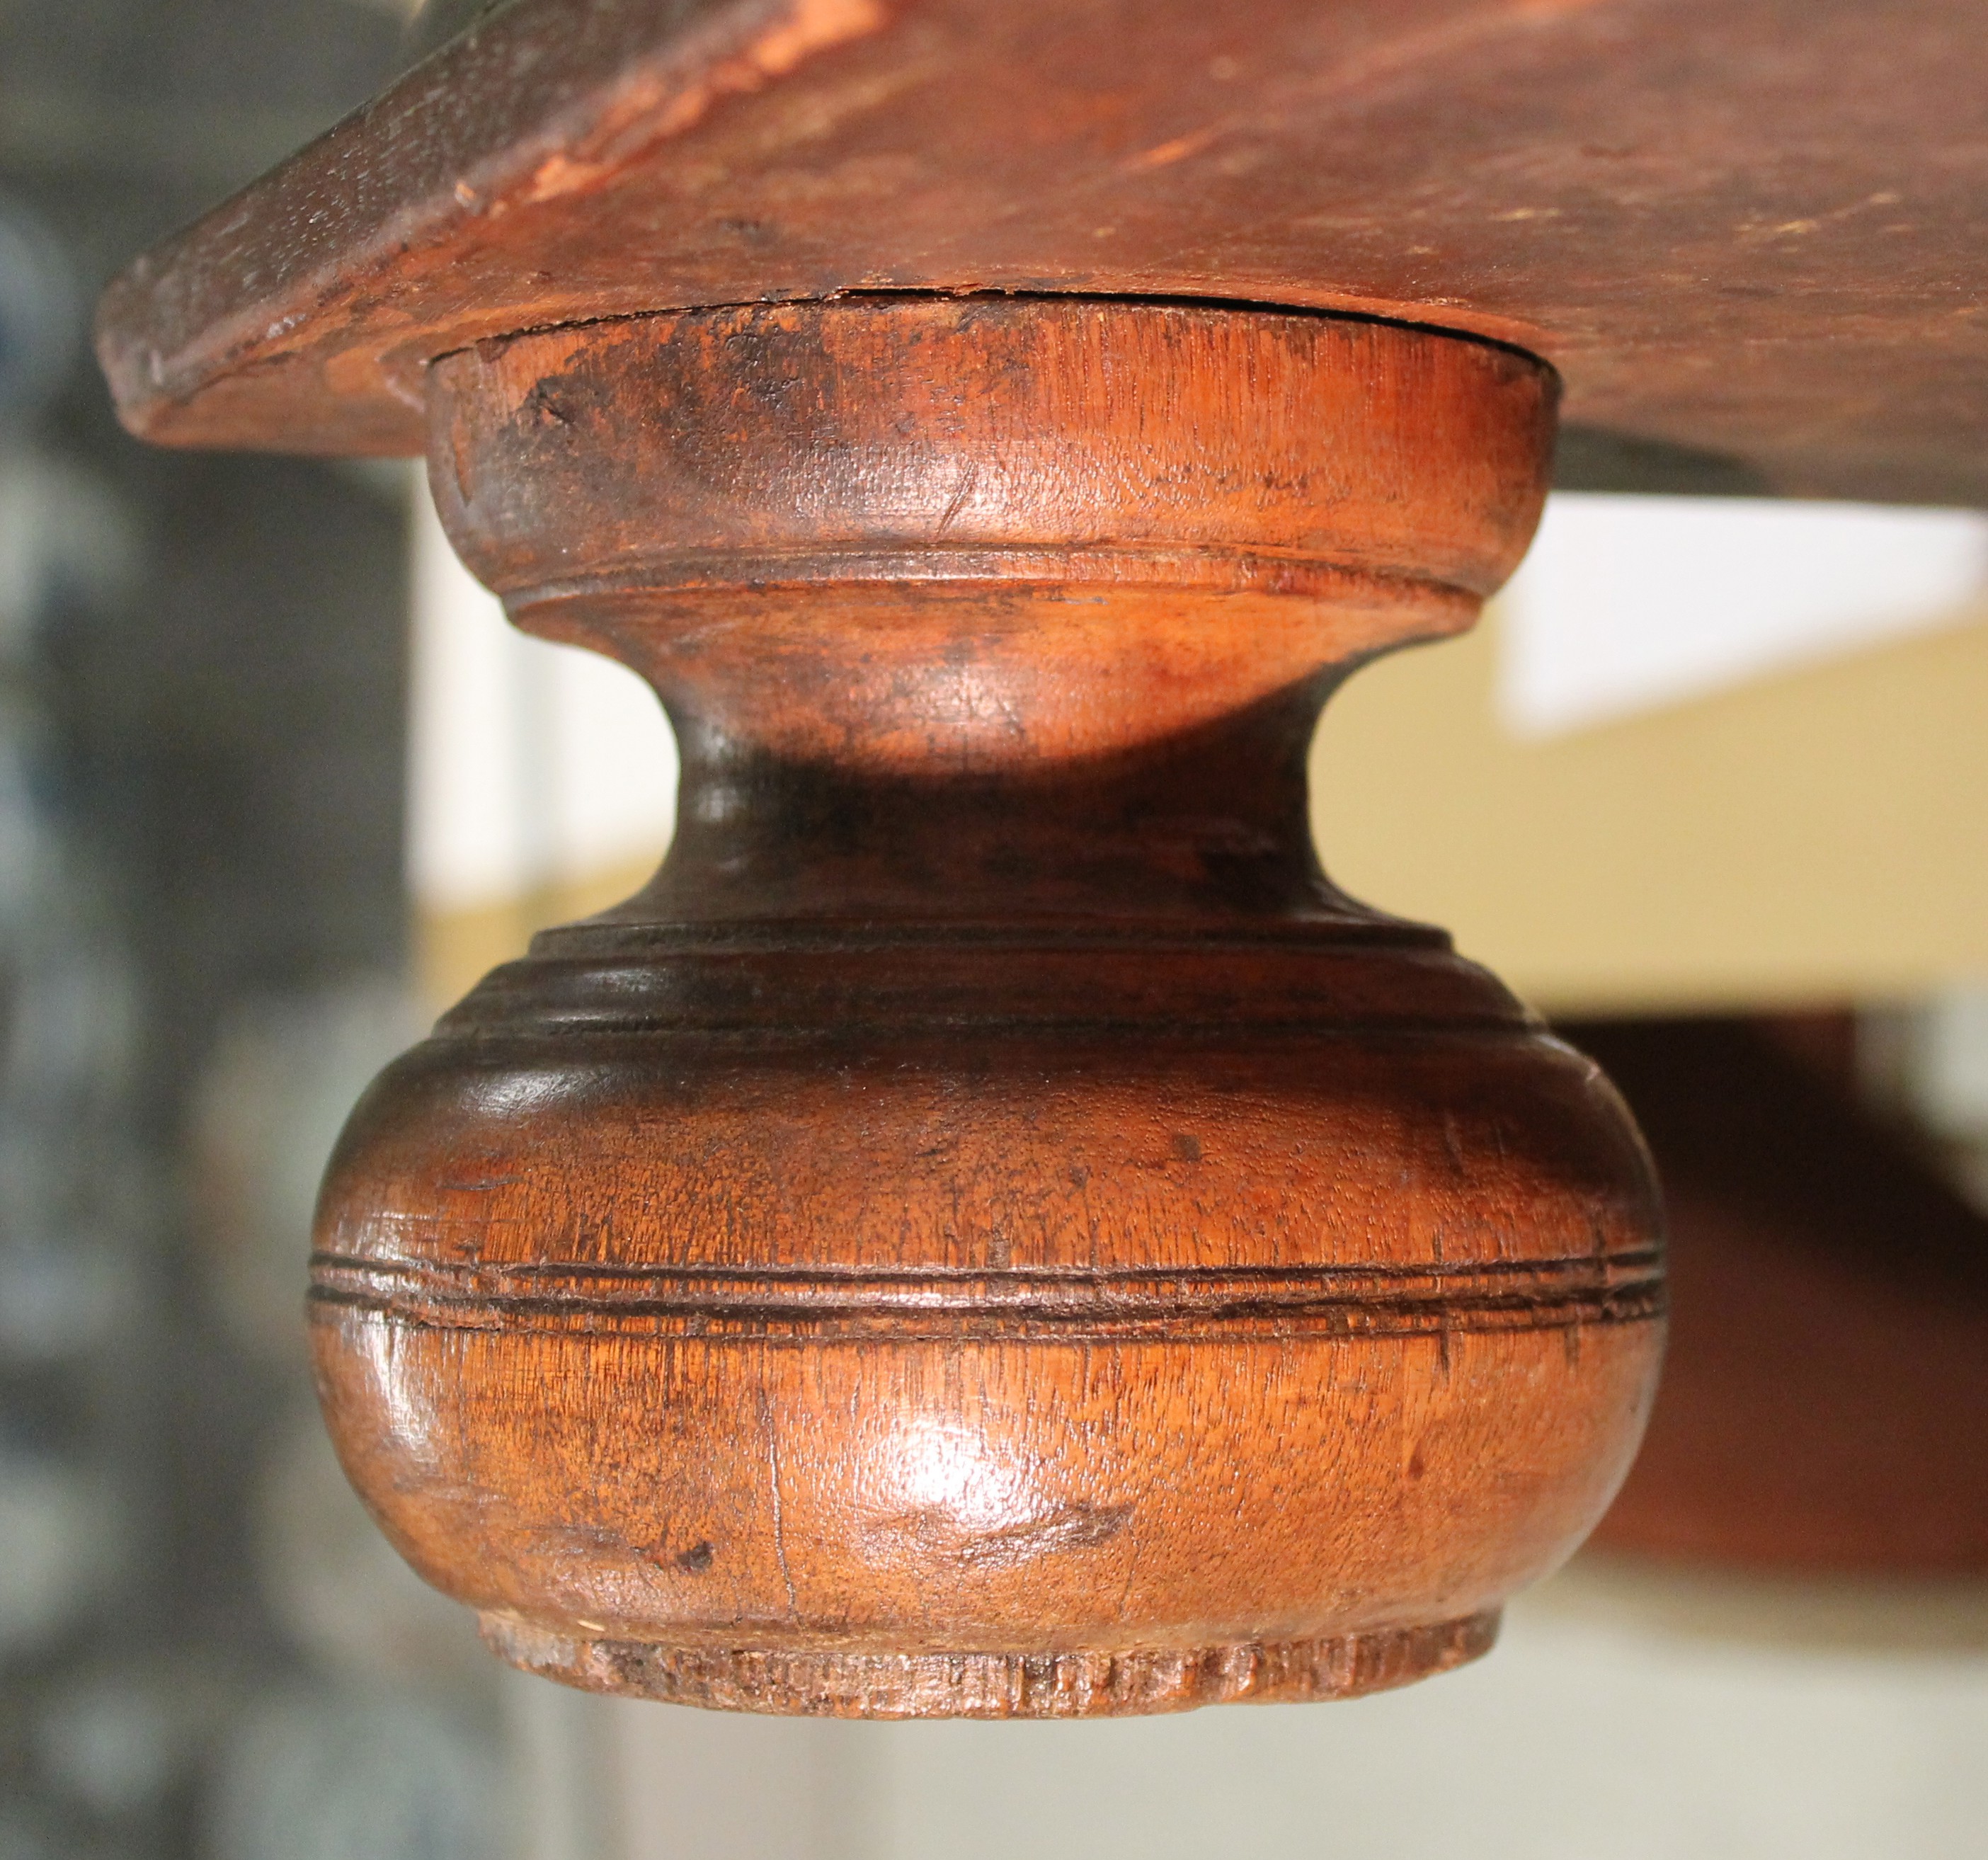
Foot of the 1707 Philadelphia Escritoire.
As I begin working on the 1707 Philadelphia Escritoire (the English also call this a scriptor, if you lack confidence in your French pronunciation), I am scrambling to find material of sufficient thickness. The case parts on this are really heavy as are the bun feet. At 4 1/2 inches in diameter, these feet have to come out of a substantial block of walnut. Unfortunately, our inventory of seasoned walnut only goes up to 4 inch thick stock – we are not timber framers after all. When Hurricane Irene shoved through Williamsburg three years ago we ended up with quite a bit of walnut to be sawn and seasoned. At the time, Mack Headley decided that we ought to have a few heavy timbers cut and set aside for those unusual projects that come along now and then. So out there in the stacks are some really heavy boards (8 inches square) and some less heavy, heavy boards (5 inches square). That is good news for my feet, but you know the rule for air drying lumber: one year for every inch of thickness. Hurricane Irene was in 2011, it is now 2014, this board is 5 inches thick, and it has been at the bottom of the stack – raised off the ground, but next to the soggy Williamsburg earth nonetheless – sucking in moisture while it is losing moisture.
Well I think we’ll be able to use one of these five inch boards, but I need to treat things a little differently than usual. Because the feet are independent of the case itself, it should be reasonable to work them somewhat green and have them get along with the more seasoned wood in the case. I wanted to get this stuff inside and cut up as soon as possible then do something to retard the drying somewhat. Here are some shots of how I am handling this.

The 5″ square blank was lurking in the shadows at the bottom of this stack.
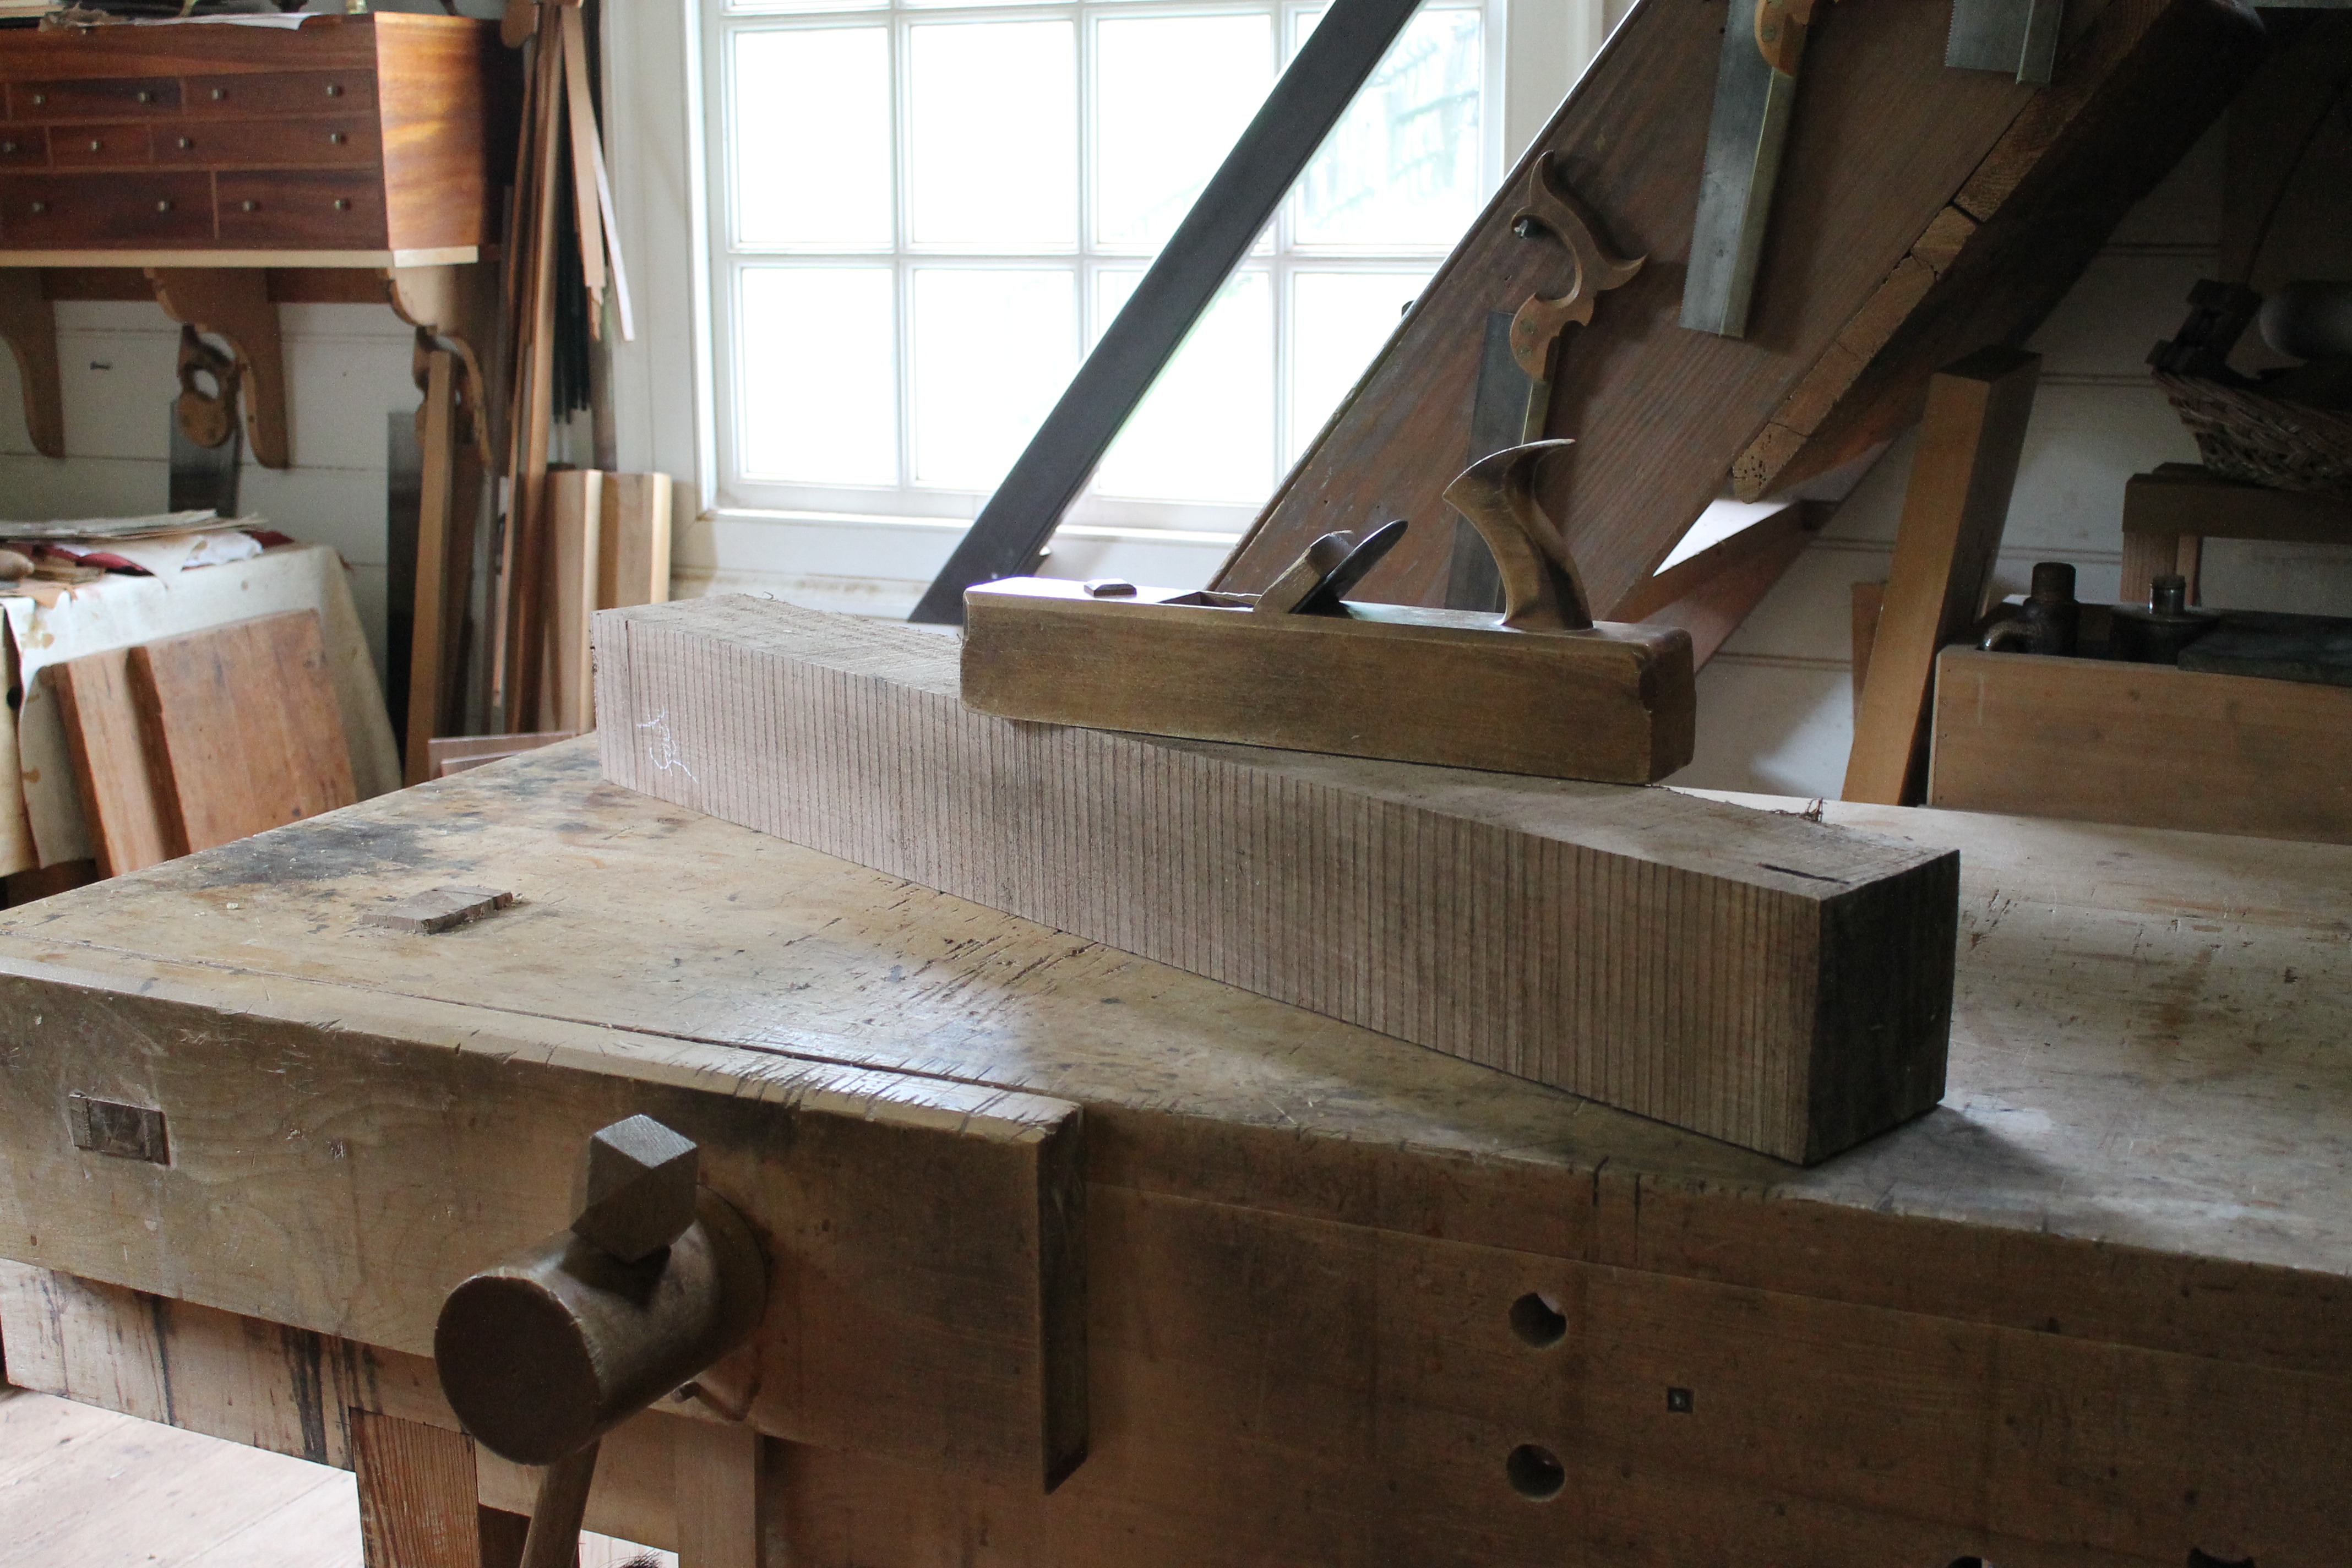
Just under 5″ square this board was ready for rough planing and then sawing to length. I cut enough for the four feet plus one extra, just in case. I cut this up in three lengths: two which contain enough wood for two feet and one for the extra.

I think this is nicely quartered stuff, Brian says it looks really flat sawn. Tilt your head Brian.

Blanks with two faces squared and then their corners knocked off.

I sealed the end grain with leftover seed lac varnish (the nasty stuff at the bottom of the jar with all the dregs and dross).

I packed the blanks in a box with shavings (I was lacking a period appropriate container). Hopefully this will allow them to dry, but slow things down enough to reduce the risk of checking, splitting, cracking…
We’ll see how they look in a couple of months.
In other words, I got some material that looks sound and inherently stable. I have roughed it out and will now leave it in the shop environment to adjust. Because there is such a big risk of checking, I took steps to reduce it (sealing the end grain and packing them in shavings). If this doesn’t work, the odds are that I will find out when I take them out of the box and not after I have turned them…I hope.
Bill Pavlak.

Who held up the stack whilst you retrieved the blank? They must be making apprentices quite stout these days.
Thankfully the piece I needed was right between two of the 8 inch pieces and therefore had no weight on it – we just pushed it right out. That kind of good fortune usually passes us by. We are getting ready to bring a lot of our 4/4 material indoors so we do have a good bit of heavy lifting coming up and a serious shortage of stout apprentices. Maybe we should call for volunteers. Who wouldn’t want to carry large walnut boards around during the beautiful Williamsburg Summer?
Great looking feet Bill!
I have attempted to dry large pieces like this a few times over the years, with mixed success. The last time was 2 years ago with pieces of Apple, some twice as large as your pieces. These were the only ones that have absolutely no checks or cracks. Having had poor success with one coat of sealant in the past, I sealed the ends of these pieces with about 4 coats of some extra latex paint I had around. I kept applying, every day or so, until they would not absorb any more. I think that is the key, to completely seal the end grain, with whatever you use. I doubt that shellac will have much of an effect. Years ago I bought some walnut leg blanks from an old furniture making business in town. They were really old, and the ends had been dipped in what looked like roofing tar. It was a bit of a mess to scrape off, but there was no checking or cracks. Good luck, I hope your pieces survive the drying.
John
Thanks for the tip John. I put on a couple of heavy coats, but you can see how parched the surface looks in the picture. I should try some more. A good opportunity to finish off those cans of paint that have been sitting in the finishing cupboard for the last thirty years.
It is my experience that the ball feet on early eighteenth furniture made in the Delaware Valley have holes bored through the center that are ultimately fit with hard pine or oak dowels that extend out of the top of the foot to become the round tenons that fit into holes bored in the bottom of the carcass. It is likely that the holes are bored in the feet well before they are turned to facilitate the drying process and reduce the chances of checking by allowing the interior of the blank to dry closer to the rate of the exterior. Plugs are inserted when turning the foot, centering the bored hole. A dry dowel driven into the foot will not shrink out of the hole drilled in the carcass bottom (they are more often than not wedged) and the foot shrinks around the dryer dowel assuring a tight fit and a foot that will not fall off when the object is moved.
I’m looking forward to watching this project unfold, very exciting!
Cheers!
Thanks for the insight Chris. It is greatly appreciated. This is an exciting piece, in part, because it is out of our usual time and place (ie. third quarter of the century Virginia), which brings new challenges and opportunities. We are happy for the all the advice we can get from people more familiar with early Philadelphia work.
Gorgeous feet!
I love seeing all of those wood shavings on the floor whenever I do any sort of planing. It’s almost like measuring all of my hard work, if I’ve got a floor full of wood shavings.. it’s been a good day
Can’t wait to see the final product! Is there any chance that you could give us some advance notice on when you’re planning to turn the feet? As a wood turner, I’d love to see how it was done in the 18th century.